 Main categories Quick access via the main categories
 Complete product range Overview of our complete product range
 Product finderPRACTICAL Find your product in three steps – with the spare parts finder
 Special offersSALE Overview of our limited-time special offers
 Info centre Expert knowledge all about your trailer
 Bulk buyer enquiry Your enquiry – our matching suppliers



+49 5402 96526-10 Mon–Thu: 9:00 am–5:00 pm and Fri: 9:00 am–2:00 pm
Email mail@trailer.one
Address
Overrun brake jolting when braking? Here’s how to replace the overrun device damper
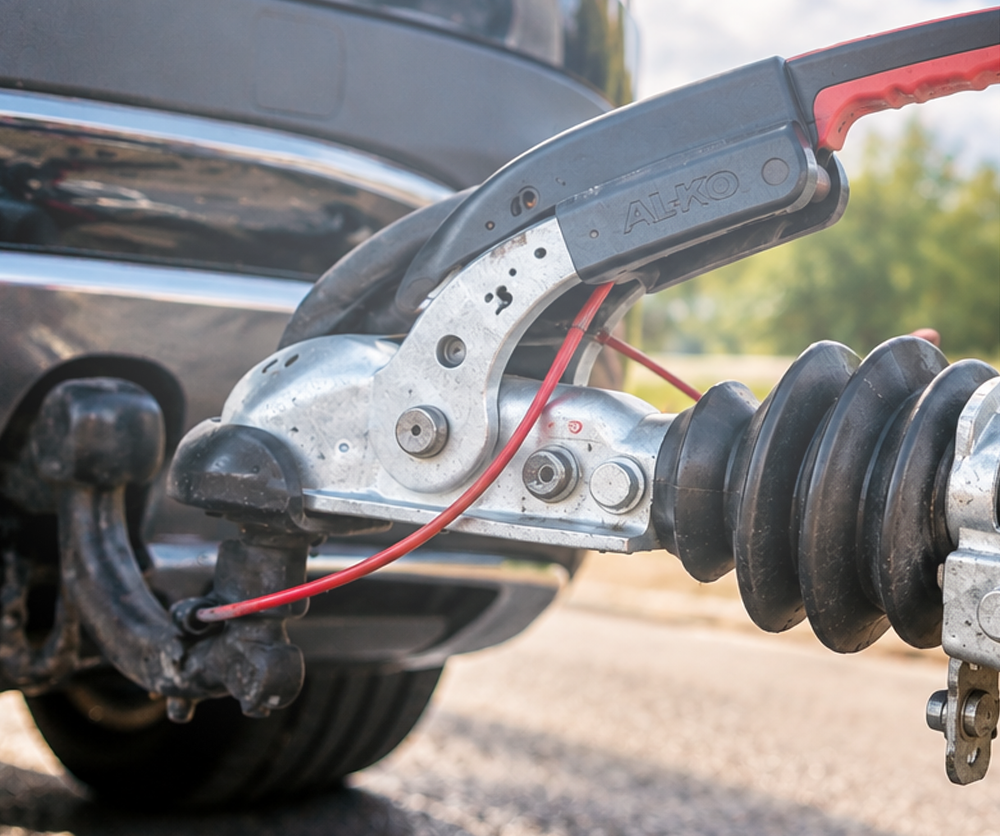
A familiar issue in everyday trailer use and a recurring topic on repair forums: You apply the brakes in the towing vehicle, and just a few milliseconds later your trailer responds with a noticeable jolt or a loud metallic bang from the rear.
Ignoring this symptom not only risks consequential damage to the coupling and overrun device, but can also compromise road safety. In most cases, the cause of this behaviour is quickly identified: The damper in the overrun device (overrun damper) is faulty.
In this guide, you will learn how the mechanism works, how to recognise wear at an early stage and how to replace the damper step by step.
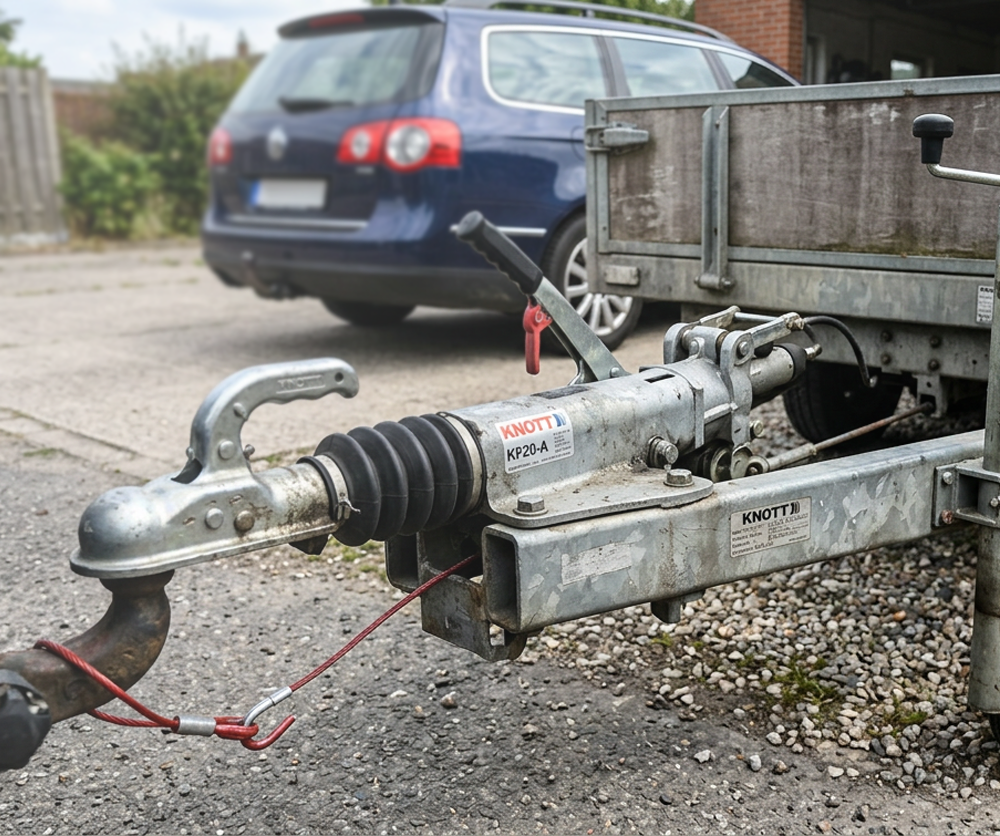
How the overrun damper in the drawbar works
On braked car trailers, the overrun device ensures that the deceleration of the towing vehicle is converted into braking force on the trailer.
-
Overrun: When the car brakes, the trailer's own inertia causes it to push forwards against the ball coupling.
-
Force transmission: This pushes the drawbar backwards into the housing of the overrun device, operating the wheel brakes via the reversing lever and brake linkage.
-
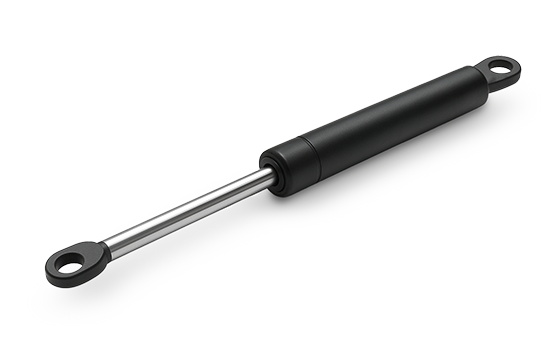
Damping: To prevent this movement from occurring suddenly and without resistance, a hydraulic oil or gas-pressure damper is fitted inside the drawbar – the overrun damper. It slows the forward and backward movement of the drawbar and ensures a smooth, consistent response from the braking system.
Symptoms of a faulty overrun damper
A worn or depleted overrun damper usually produces some very clear symptoms:
-
Metallic bang when braking: The drawbar moves without damping resistance until it hits the mechanical stop.
-
Jerking when pulling away: A bang can also occur when pulling away if the drawbar is suddenly pulled forwards again.
-
Delayed response from the overrun brake: The vehicle and trailer combination becomes unsettled because the trailer initially pushes forwards before braking abruptly.
-
Visible defects: A torn or porous bellows allows water and dirt to reach the drawbar directly. Grease escapes and dirt gets in – dramatically accelerating wear on the damper and guide bushes.
A quick test in the garage
Unhitch the trailer and firmly apply the handbrake. Now try to push the ball coupling firmly backwards towards the trailer by hand:
-
Normal condition: The drawbar should only move inwards with considerable force and at a slow, steady rate. Afterwards, it should slowly extend again by itself (with gas-pressure dampers).
-
Faulty: If the coupling can easily be pushed backwards without any significant resistance or moves straight to its stop, the damper must be replaced.
Park the trailer on level ground and secure the wheels with wheel chocks to prevent it from rolling. Release the handbrake so that there is no load on the drawbar.
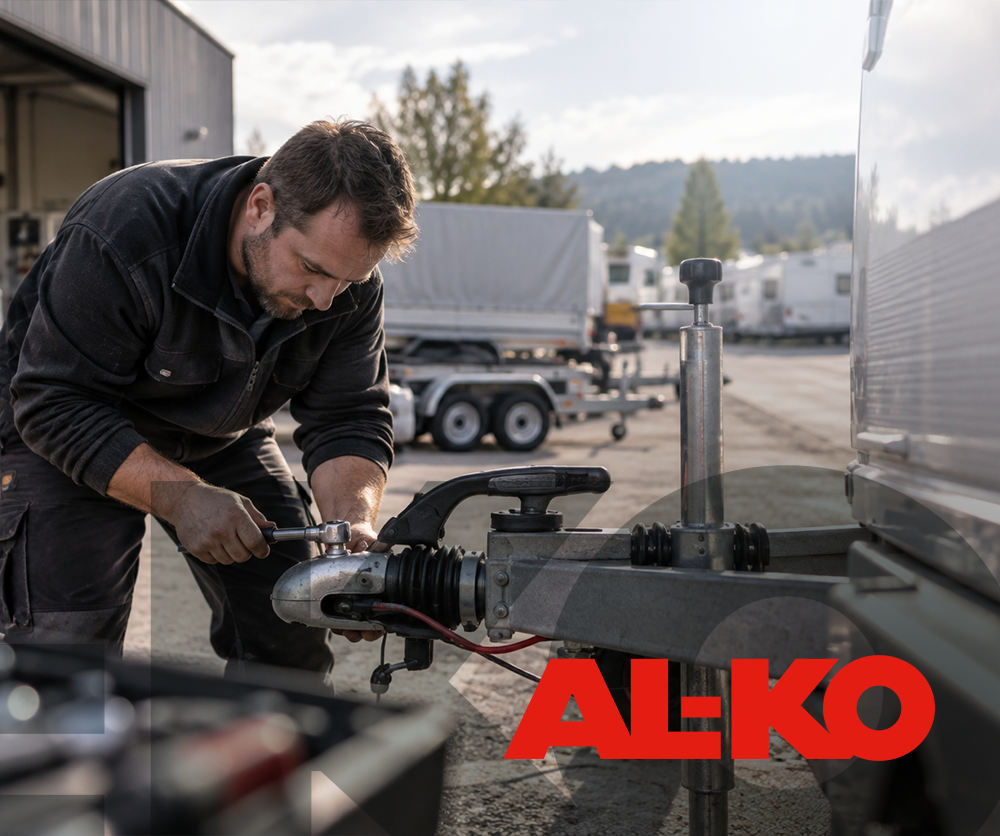
Loosen the clamps or cable ties securing the bellows. Then remove the two mounting bolts securing the ball coupling to the drawbar. Important: On many systems, the rear coupling bolt also secures the front eye of the overrun damper.
Locate the rear mounting point of the damper on the housing of the overrun device. Depending on the manufacturer (e.g. AL-KO, Knott, BPW), the damper is secured here with a retaining pin or through-bolt. Remove it.
Pull the old overrun damper forwards out of the drawbar. Take this opportunity to check the guide bushes in the drawbar for excessive play. Clean the cavity thoroughly and insert the new damper together with a new bellows.
Refit the rear retaining bolt. Secure the ball coupling to the drawbar using new self-locking nuts (observe the manufacturer's specified tightening torques). Pull the new bellows over the guide and secure it with the clamps. Finally, pump fresh grease into the guide bushes through the grease nipples until the old grease emerges from the sides.
How do I check whether the replacement was successful?
After installation, perform the manual test again: Push the ball coupling backwards by hand. You should now feel clear, consistent resistance. The drawbar should no longer slide in easily or move all the way to its mechanical stop. Then carry out a cautious test drive on a clear stretch of road, applying the brakes lightly and moderately several times – the jolting and banging should have disappeared completely.
Conclusion: A small repair with a big impact
Replacing a faulty overrun damper is a job that can be carried out yourself with a reasonable level of mechanical skill. As the damper and bellows are both typical wear parts of an overrun device, replacing them offers two benefits: you protect the components of your towing combination and restore the familiar, safe braking behaviour.
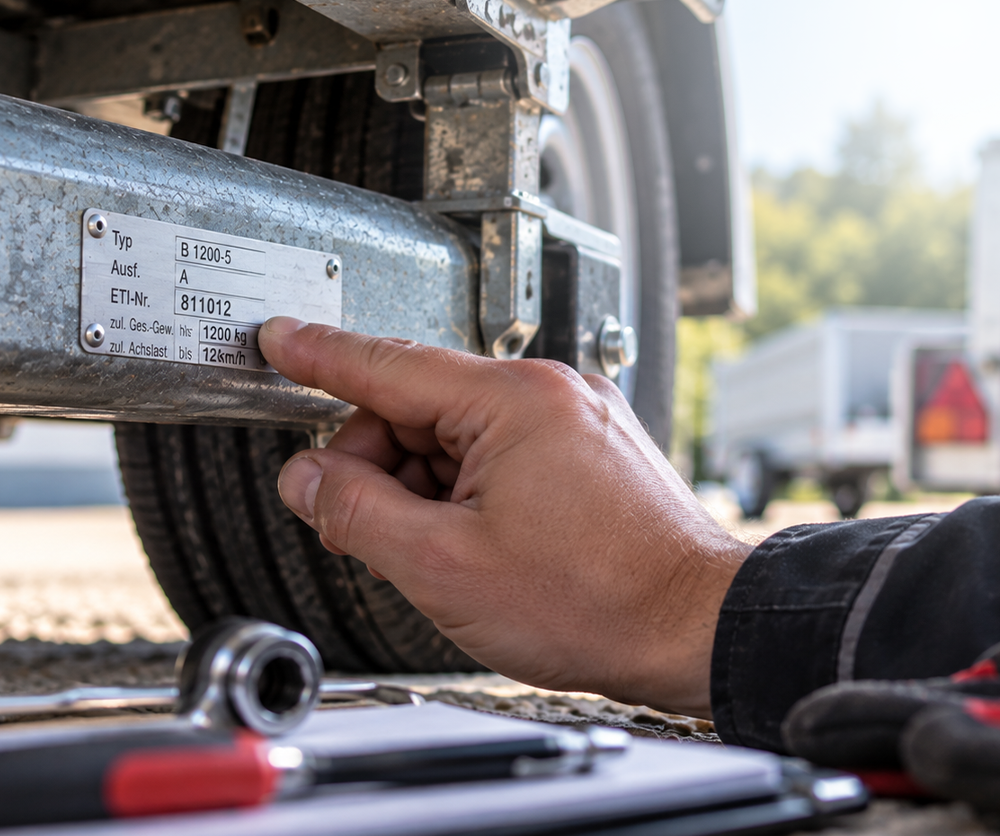
Looking for the right spare parts? Whether AL-KO, Knott, Schlegl or Peitz – overrun dampers must exactly match the specification of your overrun device. Read the type number directly from the overrun device and use the manufacturer-independent spare parts finder at Trailer.one, to find the correct damper, new bellows or grease nipples.
No posts found
Write a review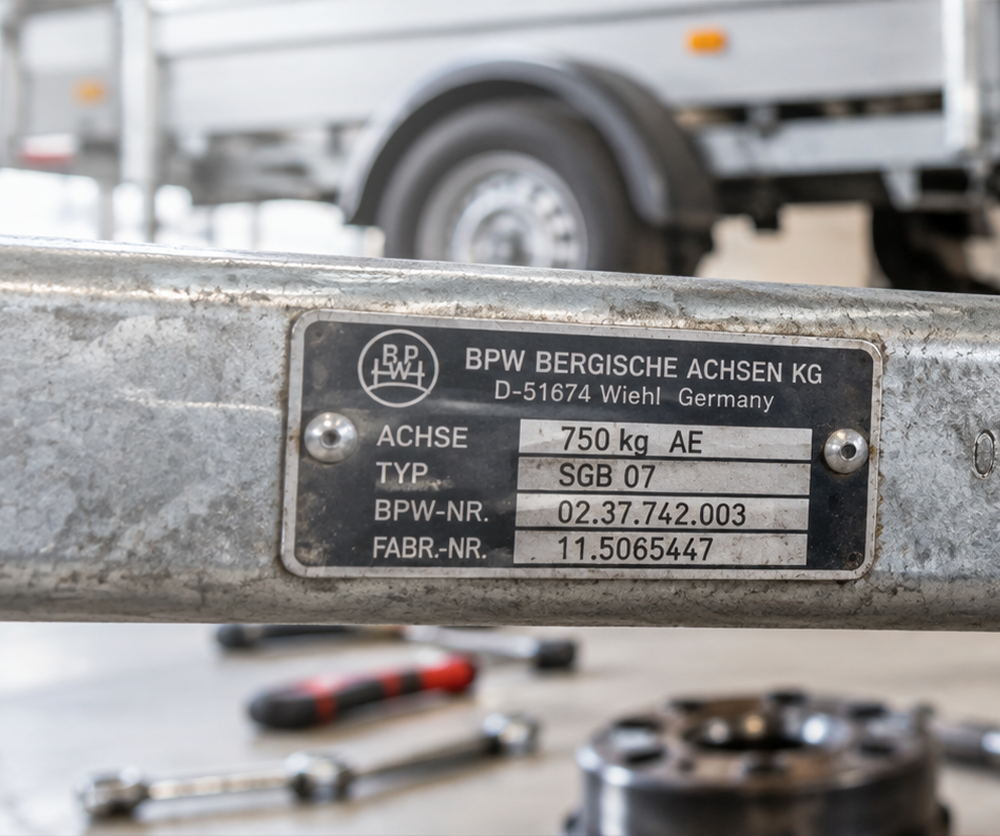



Recent posts
- Overrun brake jolting when braking? Here’s how to replace the overrun device damper
- Spare Parts Identification for Trailers: The BPW Part Number as the Equivalent of the AL-KO ETI
- Transformation in the Chassis Market: The Recent History of AL-KO Vehicle Technology
- The ETI Number Explained: The Key to Finding the Right AL-KO Spare Part
- Firewood Season Begins: How to Transport Firewood Safely with a Trailer
- Why Trailer Nets Are Usually Not Enough to Secure a Load
- Chapel Flex-e-Pump Put to the Test: The Perfect Solution for Cordless Drill-Powered Tippers or Unreliable Technology?
TrailerOne GmbH
Gewerbepark 18
49143 Bissendorf | Germany
Phone: +49 5402 96526-10
Mail: mail@trailer.one
Mon.–Thur.: 9.00 a.m.–5.00 p.m
Fri.: 9.00 a.m.–2.00 p.m.

© 2022 - 2026 TrailerOne GmbH.