 Main categories Quick access via the main categories
 Complete product range Overview of our complete product range
 Product finderPRACTICAL Find your product in three steps – with the spare parts finder
 Special offersSALE Overview of our limited-time special offers
 Info centre Expert knowledge all about your trailer
 Bulk buyer enquiry Your enquiry – our matching suppliers




+49 5402 96526-10 Mon–Thu: 9:00 am–5:00 pm and Fri: 9:00 am–2:00 pm
Email mail@trailer.one
Address
Adjusting trailer brakes correctly: the most common mistake and how to avoid it
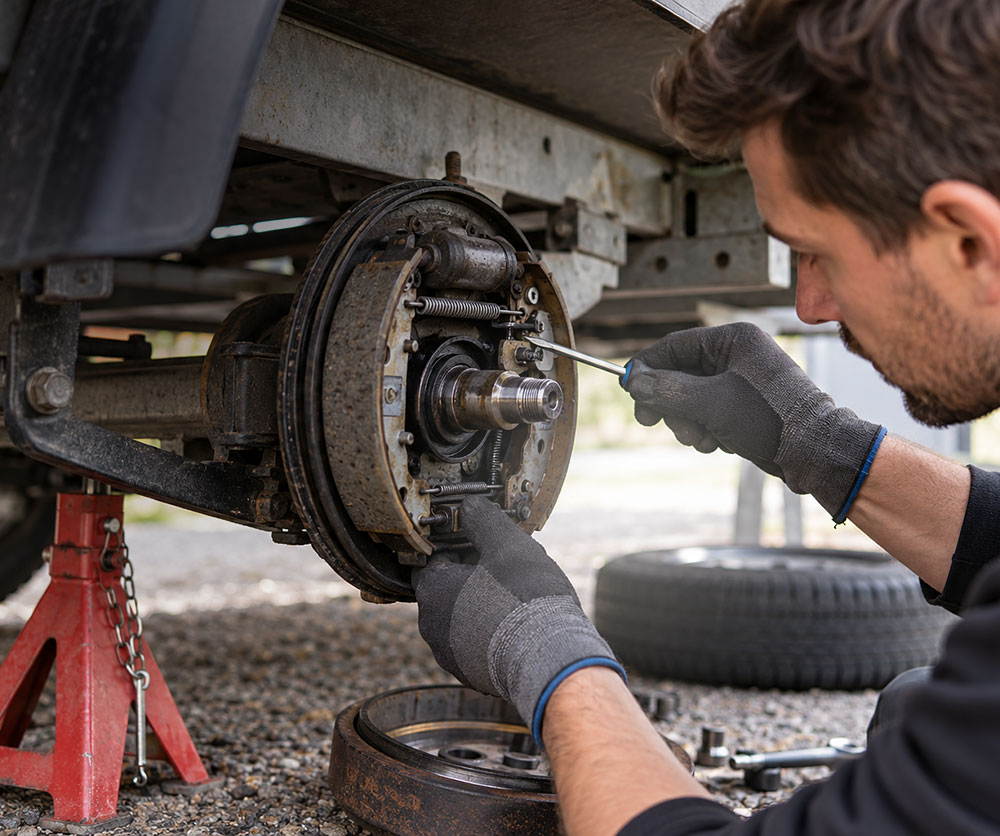
If the trailer jerks when braking, the braking performance deteriorates or the MOT inspector identifies uneven braking force during the inspection, it is time to readjust the braking system. This is a recurring topic on specialist trailer forums, as one crucial mistake is often made when carrying out maintenance yourself.
In this guide from trailer.one, we explain why quickly reaching for a spanner to adjust the brake linkage is the wrong solution and the correct sequence for professionally adjusting an overrun brake.
The classic mistake: Tightening the brake linkage
The brake is no longer working properly, so you get underneath the trailer, locate the adjuster (the threaded rod) on the central brake linkage and simply tighten it. At first glance, the problem appears to be solved: the handbrake lever has a shorter travel again and the trailer starts braking sooner.
Why this is wrong: Tightening the linkage places the brake cables under constant tension. As a result, the brake shoes remain in slight contact with the drum at all times. This causes continuous friction while driving. The brakes overheat, the linings become glazed and, in the worst case, the brake drums can warp. It can also impair the operation of the automatic reversing mechanism.
The correct sequence: From back to front
A trailer brake should always be adjusted starting at the wheels and working towards the coupling assembly (drawbar). Before you begin, the trailer must be securely raised so that the wheels can rotate freely. The handbrake must be fully released and the overrun coupling fully extended.
- Step 1: Release the system tension
First, loosen the central brake linkage at the threaded rod until it is completely free of tension. The brake cables (Bowden cables) must hang loosely and must not exert any tension on the wheel brakes. - Step 2: Adjust the wheel brake
The actual adjustment is carried out directly at the brake drum. On the rear (at the backplate), there is an adjusting screw or a small hole behind which a toothed adjuster is located. Turn this adjuster (usually with a screwdriver) while rotating the wheel in the direction of travel. Continue adjusting until the brake shoes are firmly engaged and the wheel can no longer be turned by hand. Then back off the adjustment until the wheel rotates freely and only a very slight, even rubbing sound can be heard. Repeat this process on all wheels. - Step 3: Check the play in the compensator bar
Check the compensator bar where the brake cables come together. It should sit straight. If it is significantly skewed, this often indicates a seized or stretched brake cable that needs to be replaced. - Step 4: Adjust the brake linkage
Only at the very end should you return to the threaded rod on the brake linkage. Tighten it until there is no excess play in the linkage, but the cables are not yet under tension. A small amount of play (usually 1 to 2 millimetres at the operating lever) is necessary to prevent the brake from engaging immediately over every small bump during normal driving.
Conclusion: Careful maintenance
Adjusting a trailer brake requires care. By following the rule of “wheel brake before linkage”, you ensure that the system operates reliably and with minimal wear. However, braking systems are safety-critical. If you are unsure, leave this work to a specialist workshop.
If, during your inspection, you find that the brake cables are stiff, the damper in the overrun coupling is defective or the brake shoes need replacing, you will find all the suitable components for a trouble-free repair in the trailer.one online shop.
No posts found
Write a review





Recent posts
- 100 km/h approval for trailers: the key rules
- Adjusting trailer brakes correctly: the most common mistake and how to avoid it
- Overrun brake jolting when braking? Here’s how to replace the overrun device damper
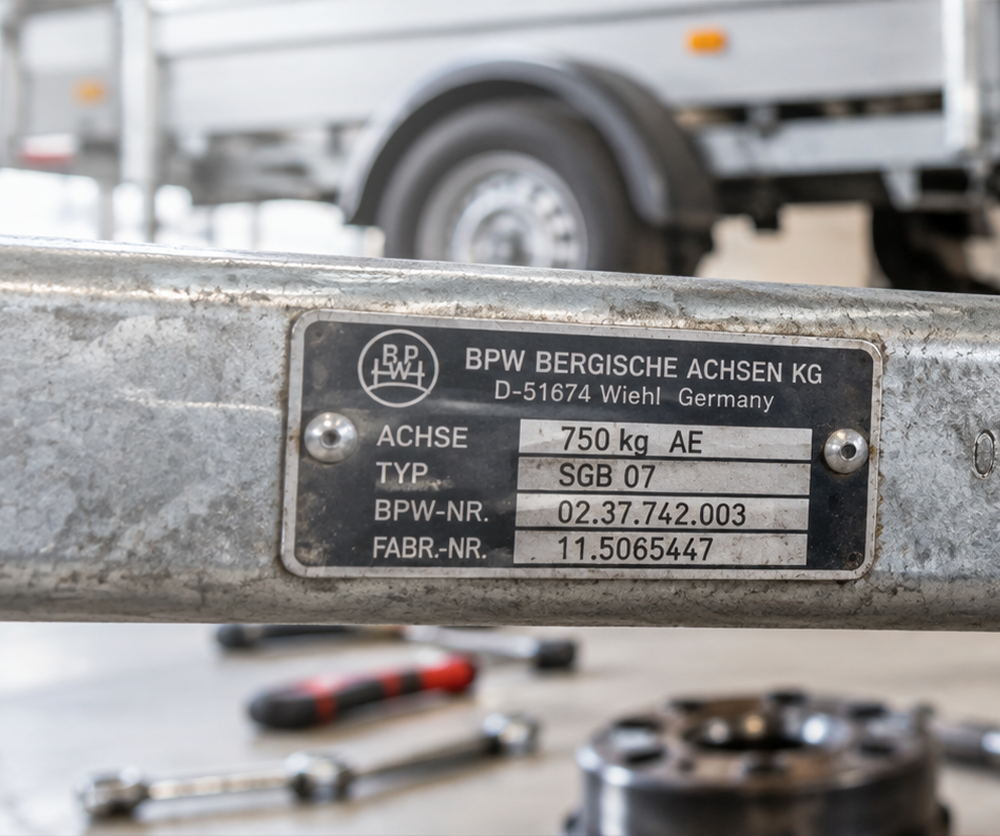
- Spare Parts Identification for Trailers: The BPW Part Number as the Equivalent of the AL-KO ETI
- Transformation in the Chassis Market: The Recent History of AL-KO Vehicle Technology
- The ETI Number Explained: The Key to Finding the Right AL-KO Spare Part
- Firewood Season Begins: How to Transport Firewood Safely with a Trailer
TrailerOne GmbH
Gewerbepark 18
49143 Bissendorf | Germany
Phone: +49 5402 96526-10
Mail: mail@trailer.one
Mon.–Thur.: 9.00 a.m.–5.00 p.m
Fri.: 9.00 a.m.–2.00 p.m.

© 2022 - 2026 TrailerOne GmbH.